
It's important to assign a name to each workstation in your shop so that they can be easily identified on reports, workstation specific options can be configured, and you can correctly cash out your registers at the end of the day.
Create a workstation name
- From the Ascend desktop select View (top toolbar) > Locations.
- Highlight your location on the upper pane in Database Explorer.
- From the lower pane, select the Add icon to create a new workstation for that location.

- In the Name field, enter the desired workstation (such as Cash Station 4).
- Click Save.

Assign a workstation name to a computer
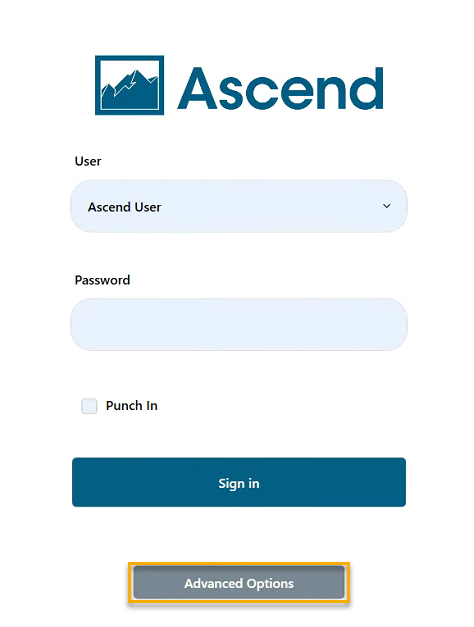
- From the Ascend desktop select the File menu > Login/Logout
-
Press on Advanced Options.
-
Note: If you cannot select Advanced Options you will need to temporarily turn off a setting in Options: Prevent Database, Location, and Workstation from being changed at Login (Options > General).
-
Note: If you cannot select Advanced Options you will need to temporarily turn off a setting in Options: Prevent Database, Location, and Workstation from being changed at Login (Options > General).
-
From the workstation drop-down menu, select the new workstation name (such as Server).
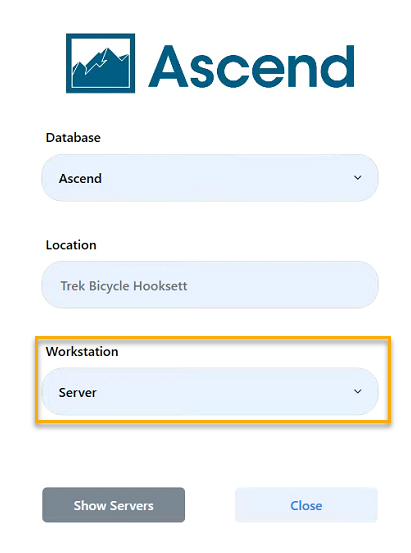
- Press Close
- From the User drop-down menu, select your name.
- In the Password field, enter your password.
- Click Login.
Configure workstation options
You need to "lock" a computer, so that the workstation name cannot be changed. This is useful ensuring you get the right data in reports.
- From the Ascend desktop click the Options tile.
- Select General on the left.
- Check the box for Prevent Database, Location, and Workstation from being changed at Login.
- Check Force Login as well.

- Click Okay.
Additional Resources
KB22-089