Before Using the Cloud Product Catalog
Be sure that you have set up your Cloud Product Catalog access by mapping available vendors in Ascend HQ. Check out our article, Ascend HQ - Cloud Product Catalog Set up.
Navigating to the Cloud Catalog
From the Ascend Desktop, you can access Cloud Catalog from the Order, Sale, and DB Explorer windows.

Cloud Catalog Form Details
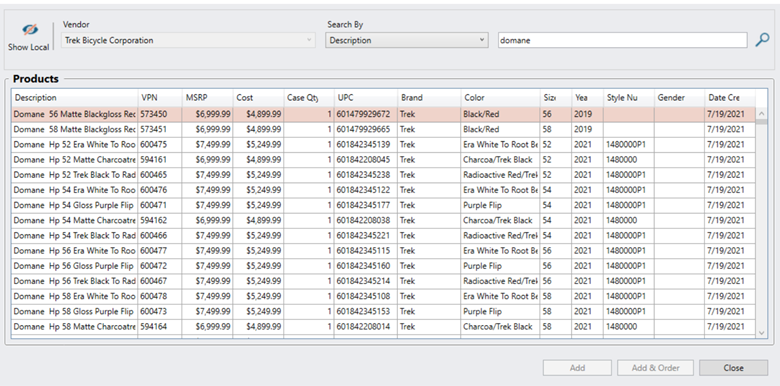
- The Hide Local/ Show Local button is a toggle that hides local products that match the search item (on the Hide Local setting) and shows the local products which are greyed out and will not be selectable (on the Show Local setting). Use it to compare local products with what's in Cloud Product Catalog.

- Search entire catalog: Will search the entire catalog for the Vendor/Supplier selected.
- Show only newly created products: Will search for new created products from the Vendor/Supplier selected in the dropdown.
- Show only products created between: Will search for products by specific Vendor/Supplier selected in the dropdown based on the date range you set.

Quickly See New Products
Using Show only newly created products and Show only products created between are very helpful for quickly identifying newly created/released products from specific vendors.
- Vendor/Supplier dropdown is used to select the supplier you'd like to search the product from.
-
Search By dropdown allows you to search by Description, VPN or UPC.
- For VPN and UPC you must use the exact value.
- Description can be searched by entering three (3) or more characters.

- The Add button adds the selected products to your store.
- You add a group of products in a row by clicking on the first product, holding the Shift key on your keyboard and clicking the last product in the list. Then
- The Add & ________ button will display different wording based on where you are in Ascend.
- From the Sales screen it will display as: Add to Sale.
- From the Order screen it will display as: Add & Order.
- From Database Explorer / Products folder it will display as: Add & Close.
- The Close button closes the form and takes you back to the previous screen.

Cloud Catalog in Database Explorer
In Database Explorer > Products, there is an option to open the Cloud Catalog by clicking on the Catalog icon. This will bring up the catalog form.

- You have to select the Vendor before searching for a product
- You can choose up to 100 product records to bring into your store.
- Note: This will only bring the products into your local database. It will NOT add them to an order or a transaction
- Click Add to add the selected products and perform another search
- Click Add & Close to add the products and exit the Cloud Catalog window
Product Highlighted in Red

- If you see a product highlighted in red like the image above, it means the product exists in your database, but doesn’t have this vendor product associated to it. If you choose to add this to your store, the vendor product will link itself to the existing in-store product.
- When you click Add or Add & _____ (Close, Order or Sale) you will receive an Ascend prompt "You are about to update:_____. Do you really want to Override. Below are ways to respond:
-
Yes: This will add the vendor product to your database and it will link itself to the existing in-store product BUT it WILL override the information that was already set in the in-store product record with what this vendor has set.
- e.g.: For example, it will override the existing in-store product description or MSRP in the product record. If you do any customizing we would not recommend overriding.
- No: This will add the vendor product to your database and it will link itself to the existing in-store product and WILL NOT override any information on the existing in-store product record.
- Cancel: Clicking cancel will cancel the action and the vendor product will not be added to your database.
-
Yes: This will add the vendor product to your database and it will link itself to the existing in-store product BUT it WILL override the information that was already set in the in-store product record with what this vendor has set.
- When you click Add or Add & _____ (Close, Order or Sale) you will receive an Ascend prompt "You are about to update:_____. Do you really want to Override. Below are ways to respond:

From the Order Screen
- Search for the product that needs to be placed on order. This will bring up the existing form that lists the products that are in your store.
- If the product is not in your store, there is an option to check the Cloud Catalog by clicking the new Cloud Catalog button. This Cloud Catalog button shows up only if the Supplier has a Cloud Catalog Mapped to the selected supplier.

- Clicking on Cloud Catalog button brings up the Cloud Catalog Form.
- Click Add to add the selected products and perform another search.
- Click Add to Order to add the products to your database and your order.

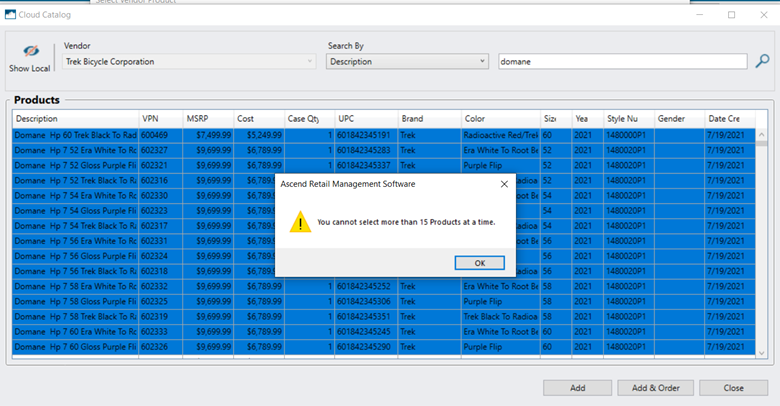
- Multiple items can be selected by holding the Shift or Ctrl keys on your keyboard. A maximum of 100 products can be selected at once.

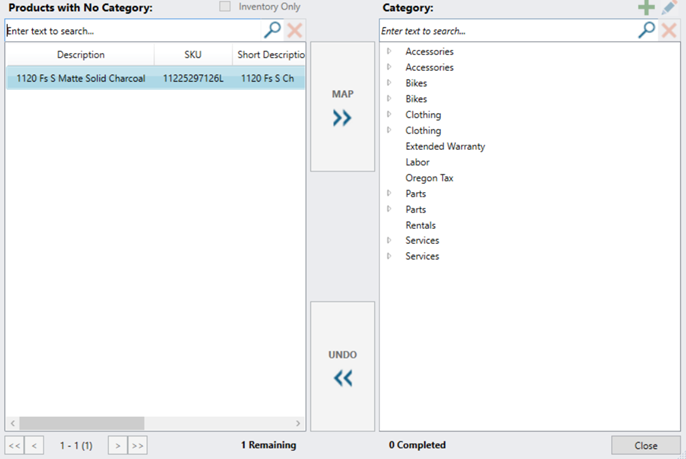
- When an item is added to your store or to the PO, it gives the option to map the category before adding to your store.

Cloud Catalog in the Sales Screen
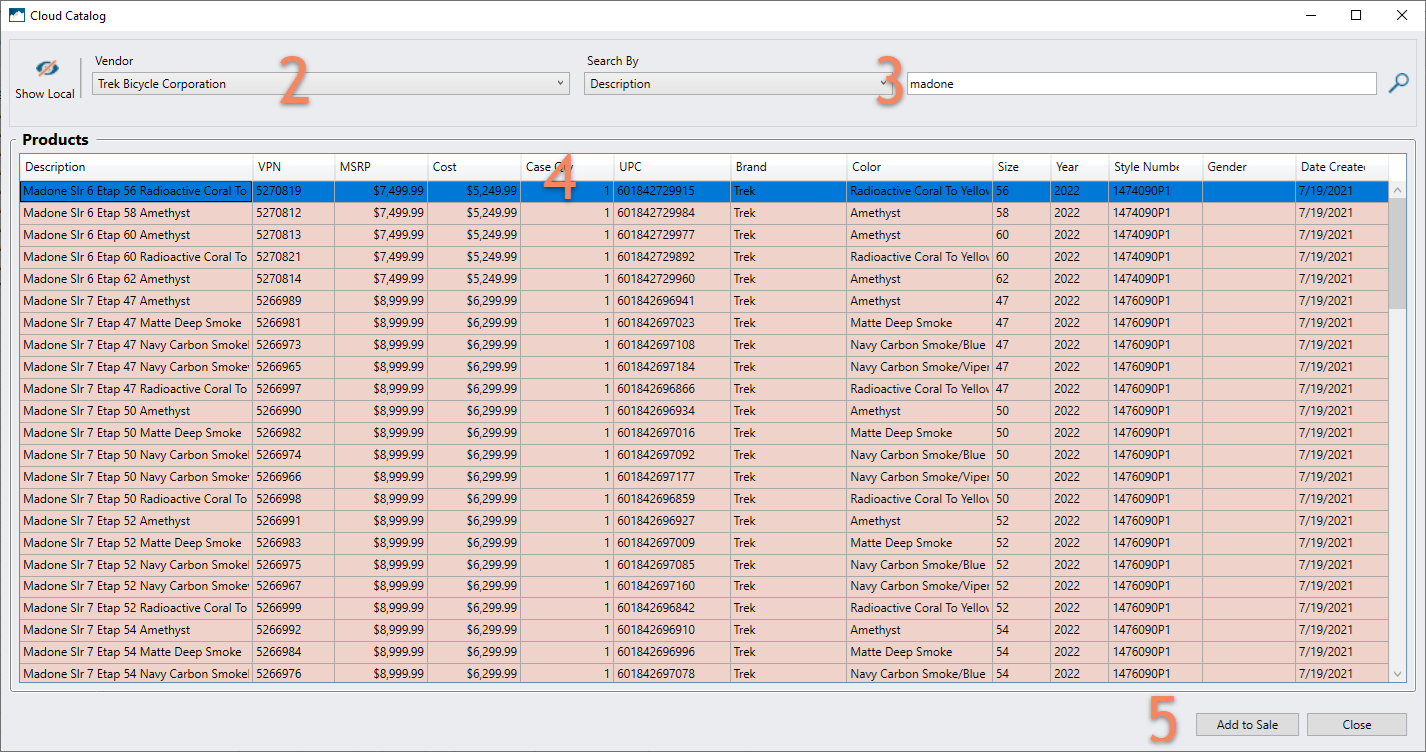
- When searching for a product to add to your transaction, click the Cloud Catalog button on the bottom right.

- Choose a Vendor
- Verify the Search criteria
- Choose the product you want to sell. Note: You can only choose one product from the Sales Screen Cloud Catalog
- Click Add to Sale

Additional Resources
KB22-047
